
- Documentation
- Connections
Documentation Quick Links
Connections
Now, let’s look at the “CONNECTIONS” page.
Connections are used to connect Aonflow to the third party applications, which are used in flows to transfer data from one app to another.
To access the Connections page, click on the ‘Menu Bar’ and then on ‘Connections’.
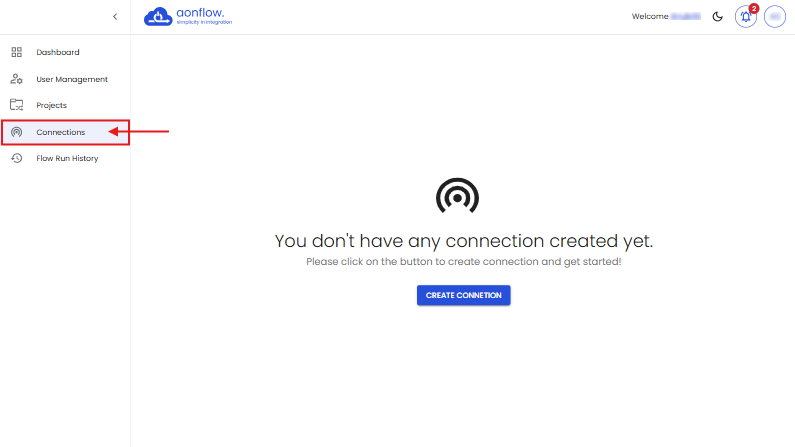
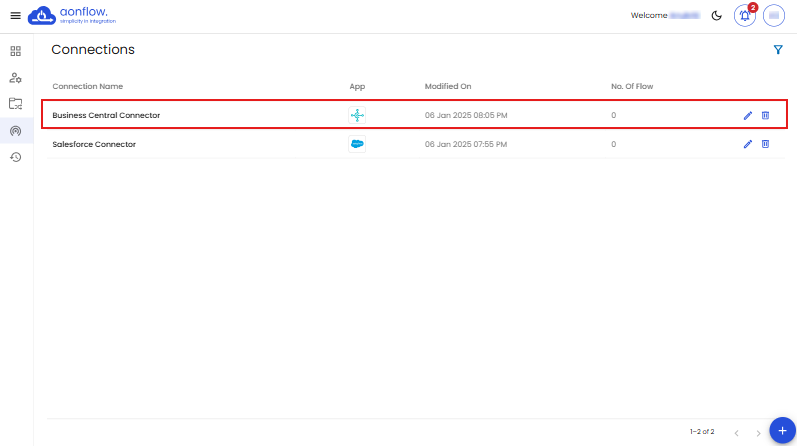
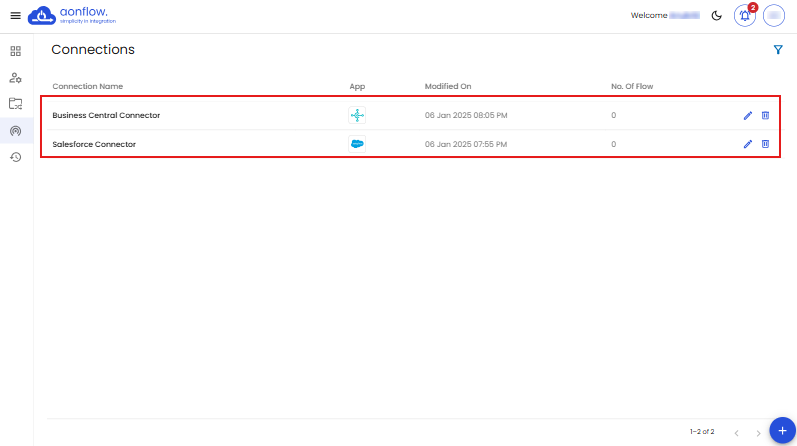
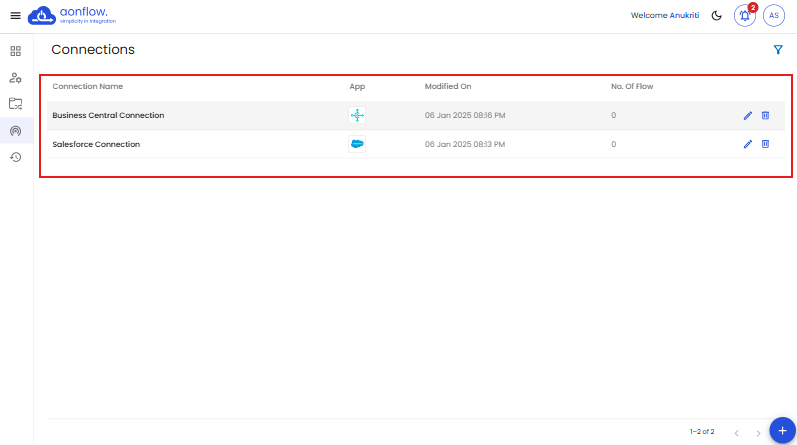
This is how the Connections page looks like.
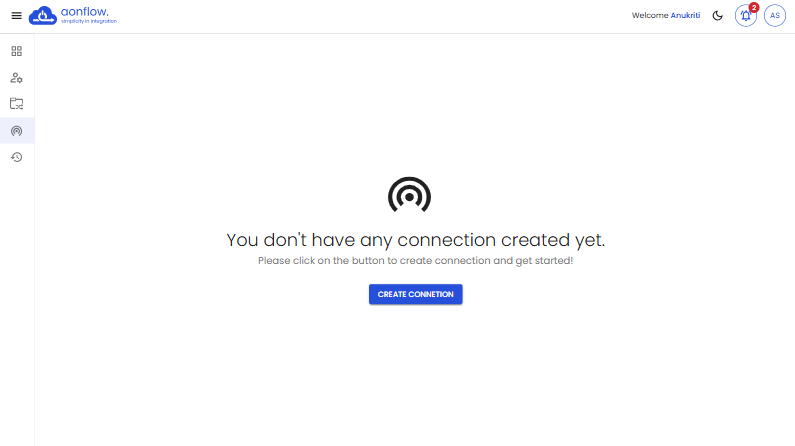
On the Connections page you can view the list of connections, their details such as, the connection name, the app for which the connection is created, the date on which the connection was last modified on , no.of flows where the connection is used in.
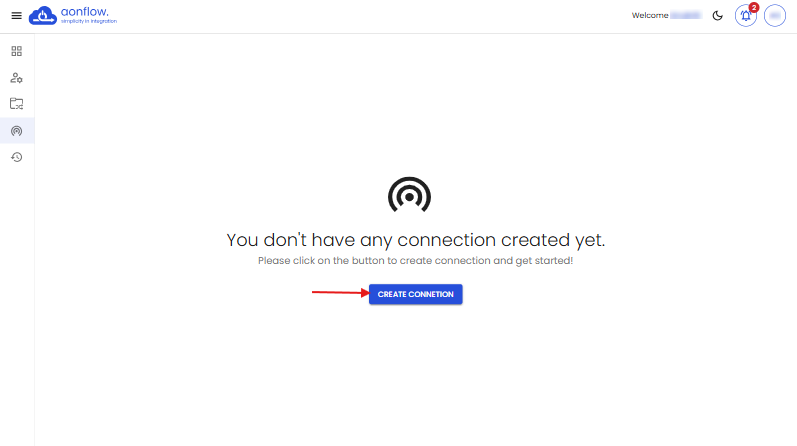
A. You can create new connections.
Let’s create a Salesforce connection
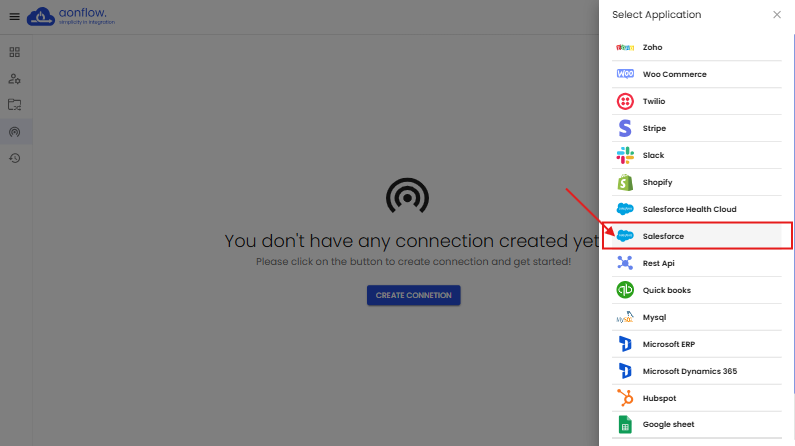
- Click on the ‘CREATE CONNECTION’ button.
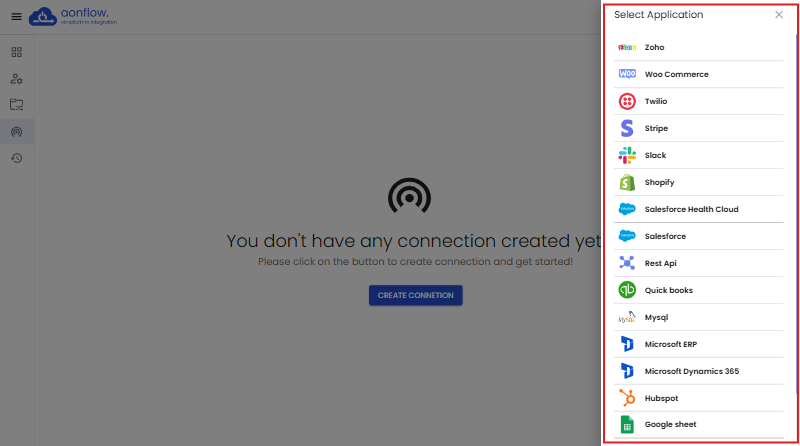
- Select Application slider opens.
- Choose Salesforce.
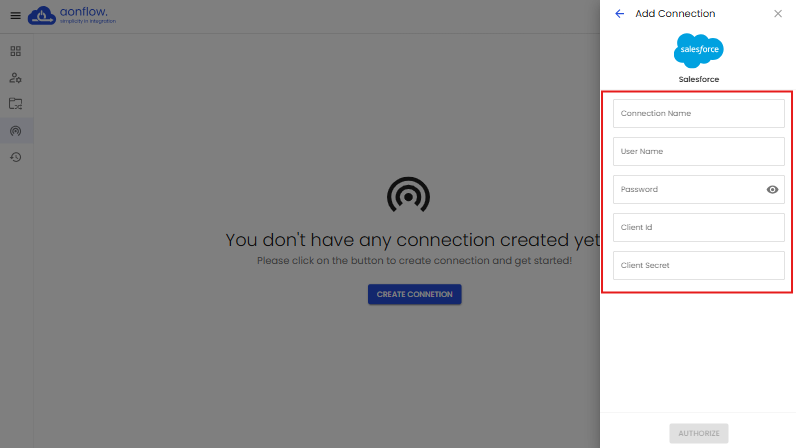
- Add Connection slider appears.
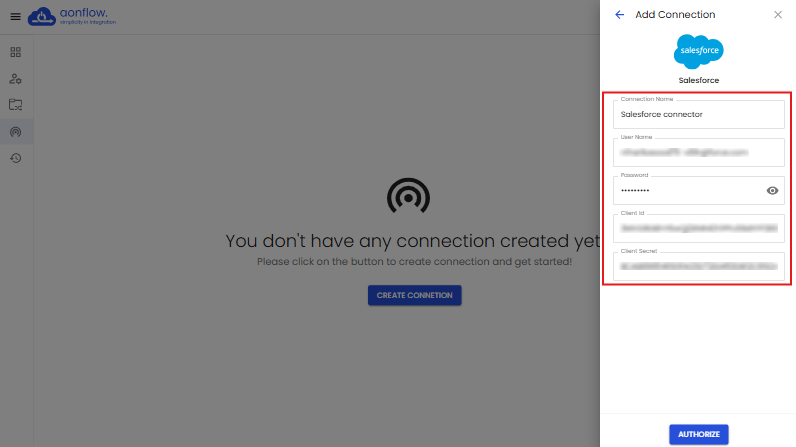
- Enter the connection name, user name, password, client id and client secret.
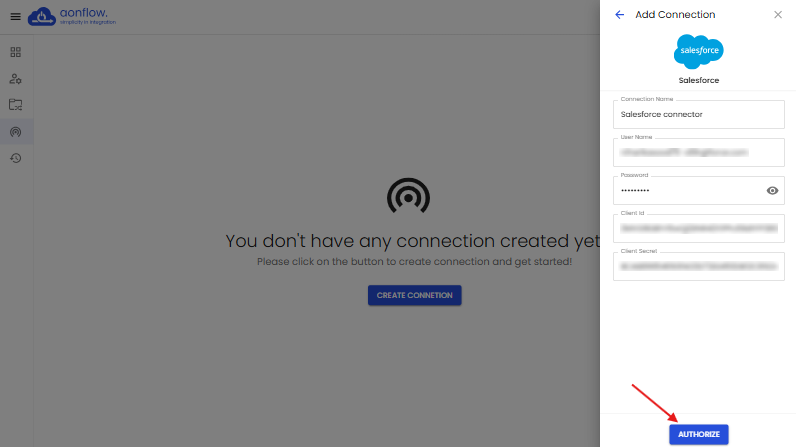
- Then click on the ‘AUTHORIZE’ button.
- Once the login is approved, you will be redirected to the Connections page, where the new connection will be displayed.
Note: The ‘Connection Name’ must be a minimum of 4 characters.
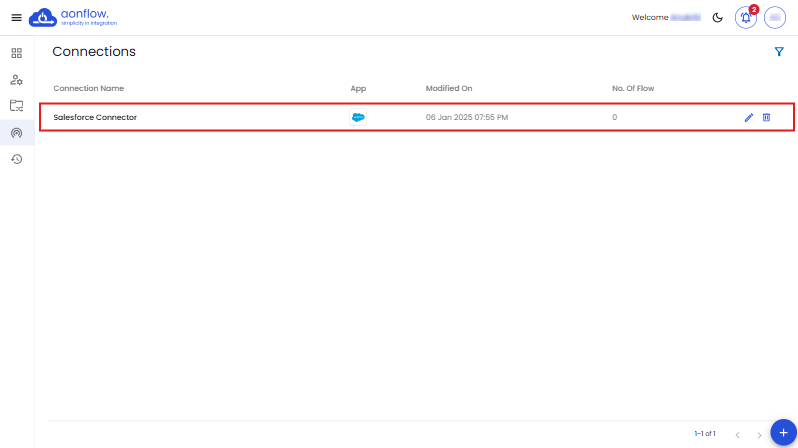
Here, you can view the connection name, the app icon (in this case, it will be the Salesforce), the date and timestamp when the connection was last modified on, and the no. of flows to which this flow is connected to.
Now, let’s create a Business Central connector
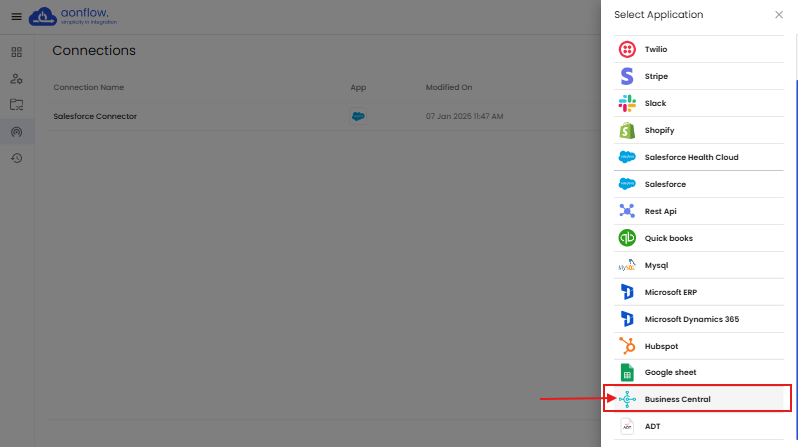
- Click on the blue-colored ‘+’ icon at the bottom-right corner of the page.
- Select Application slider opens, choose Business Central.
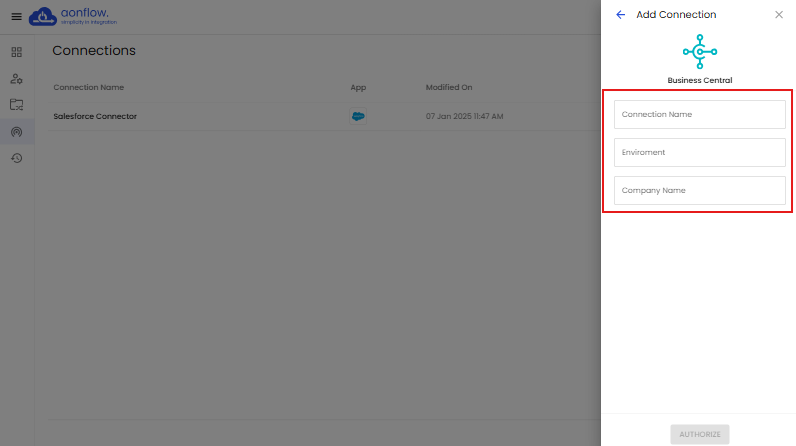
- Add Connection slider appears.
- Enter the connection name, environment and the company name.
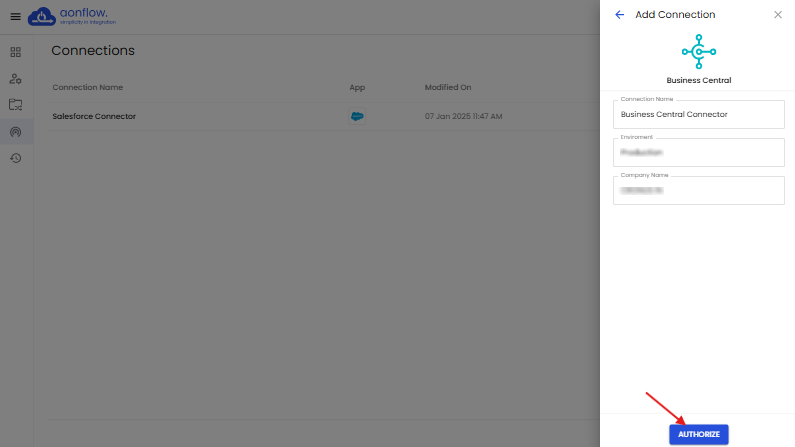
- Then click on the ‘AUTHORIZE’ button.
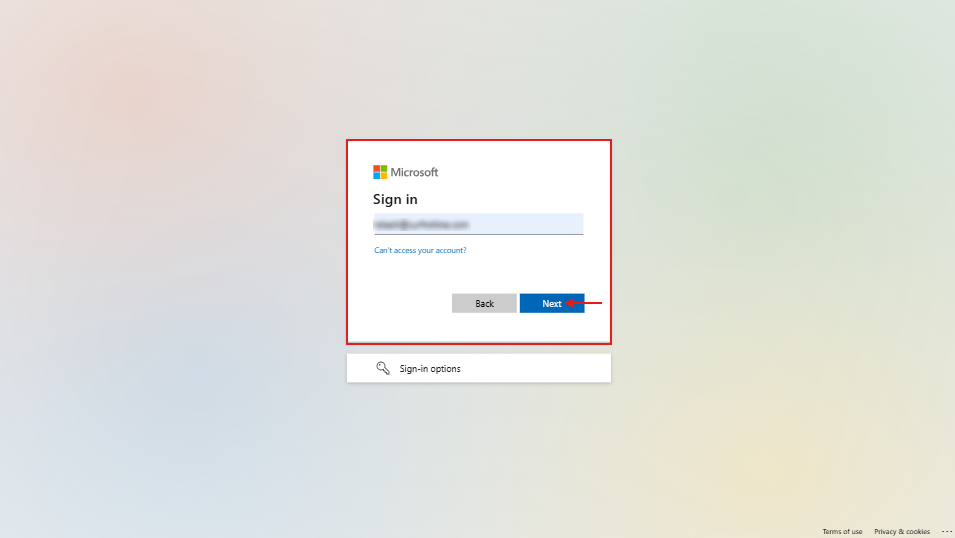
- You will get redirected to the microsoft login page, enter your email address and click on ‘Next’.
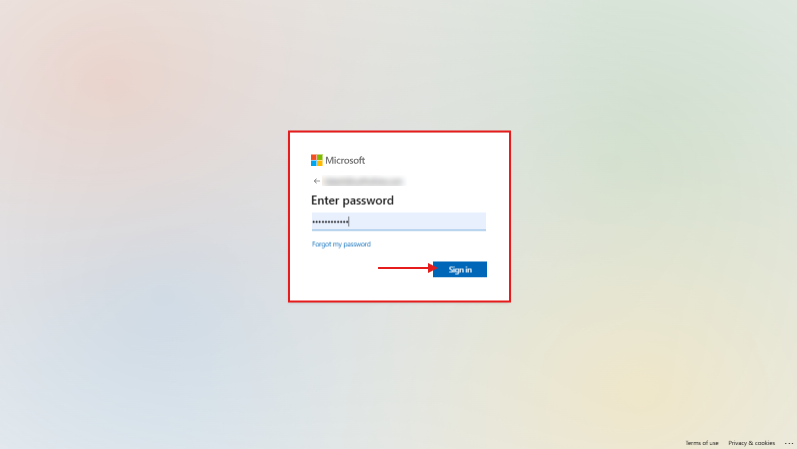
- Enter the account password. Click on ‘Sign-in’.
- Approve the sign in request through the Microsoft Authenticator app.
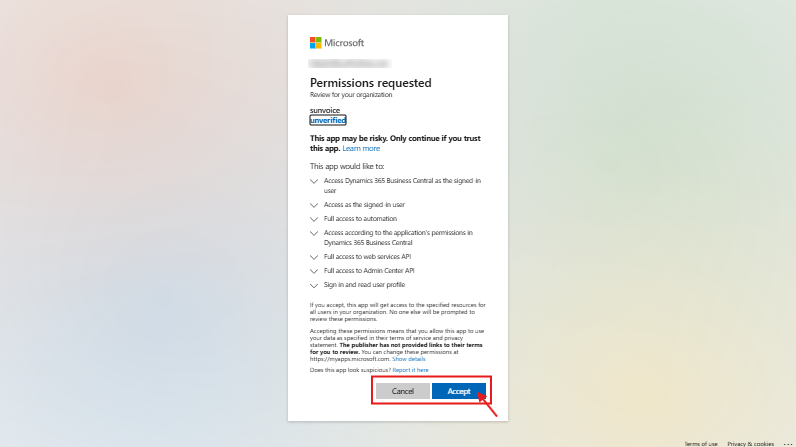
- Accept the permissions, by clicking on ‘Accept’.
- Once the login is approved, you will be redirected to the Connections page, where the new connection will be displayed.

Note: The ‘Connection Name’ must be a minimum of 4 characters.


Note: To pair or connect two apps, you need to add the connections for both the source & destination apps.
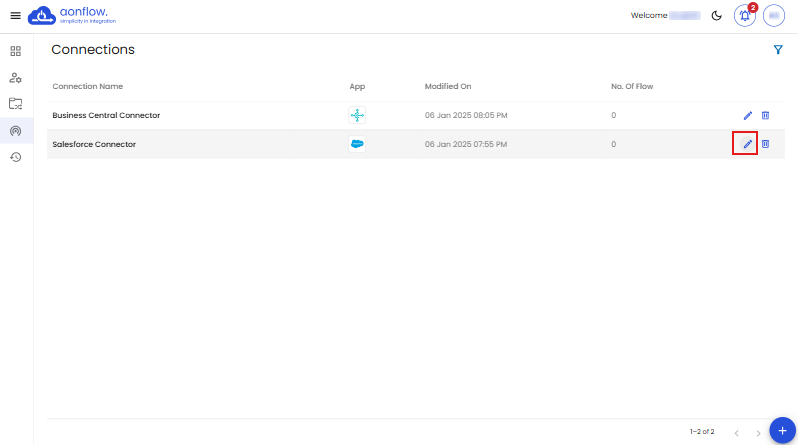
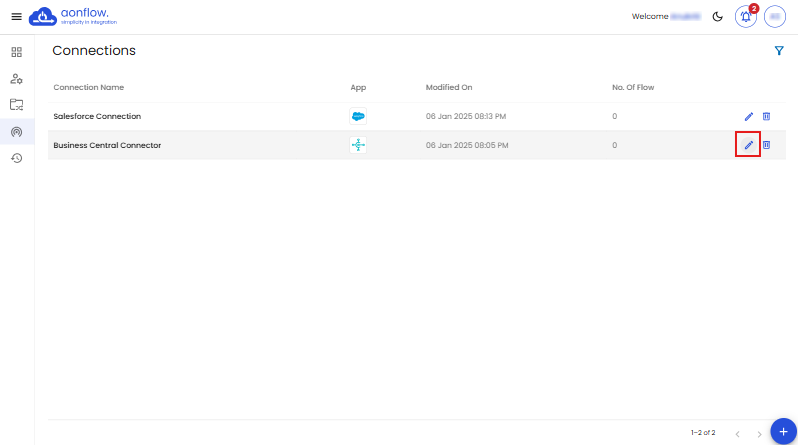
B. You can also edit the connection.
- Click on the edit icon on the Connections page, next to the connection name you want to edit.
- You will get redirected to the edit connections slider.
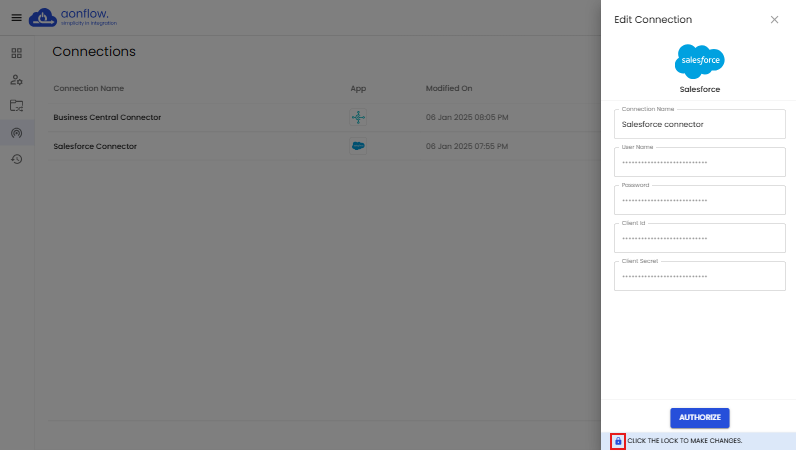
Let’s edit the Salesforce connector.

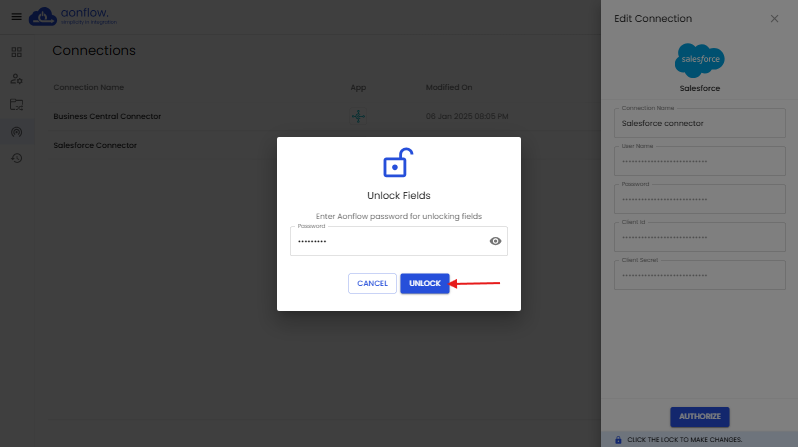
- Unlock the credentials if you want to edit a Salesforce connector. Click on the unlock icon on the bottom of the Edit Connection slider.
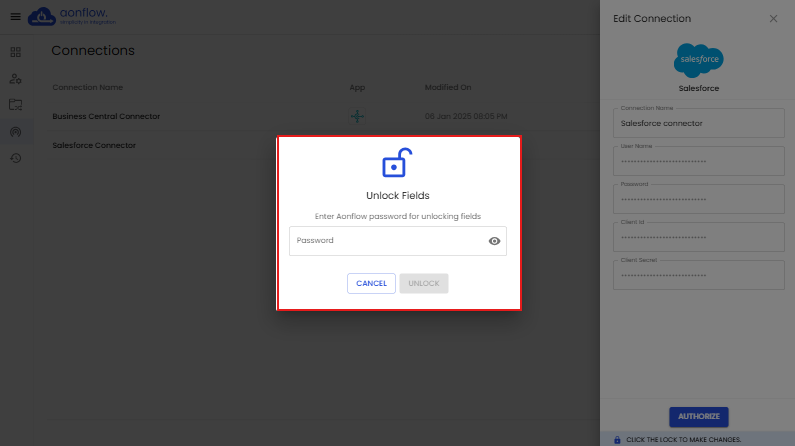
- ‘Unlock Fields’ pop-up appears.
- Enter your Aonflow account password in the Unlock Fields pop up.
- Click on the ‘UNLOCK’ button.
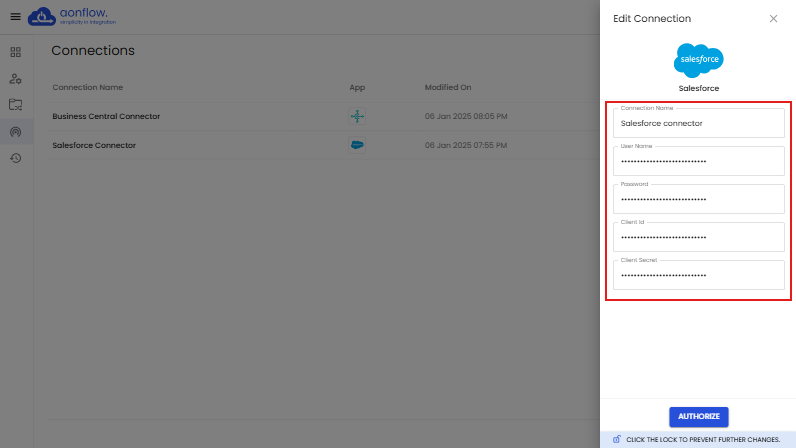
- Edit Connection slider opens.
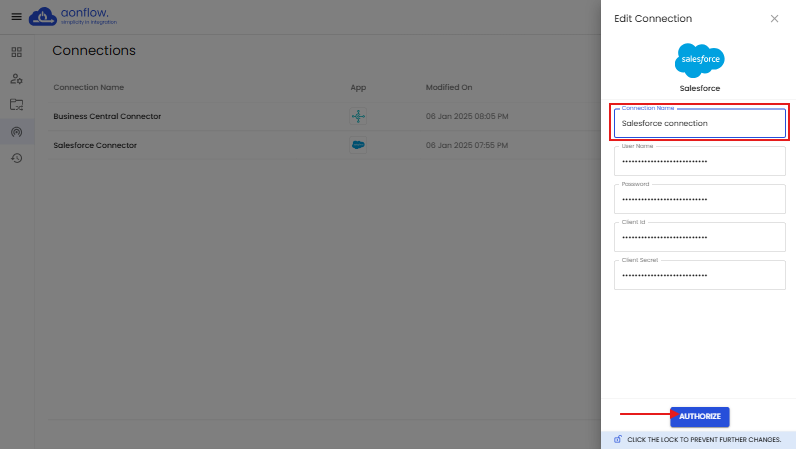
- Edit the credentials.
- Click on the ‘AUTHORIZE’ button.
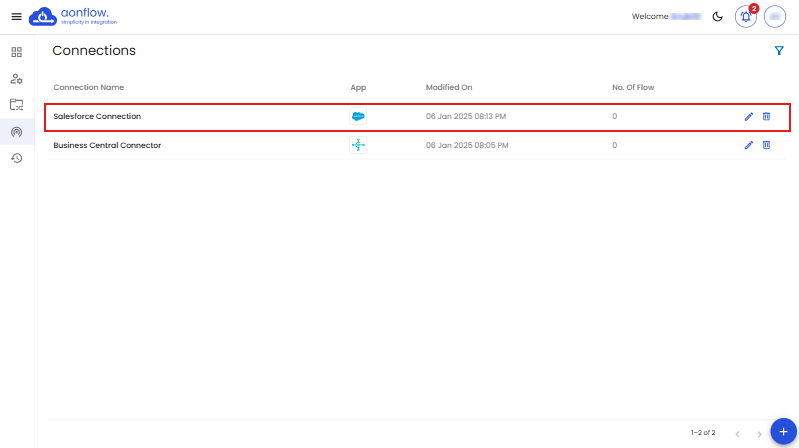
- You will be redirected to the Connections page, where the changes will be reflected.

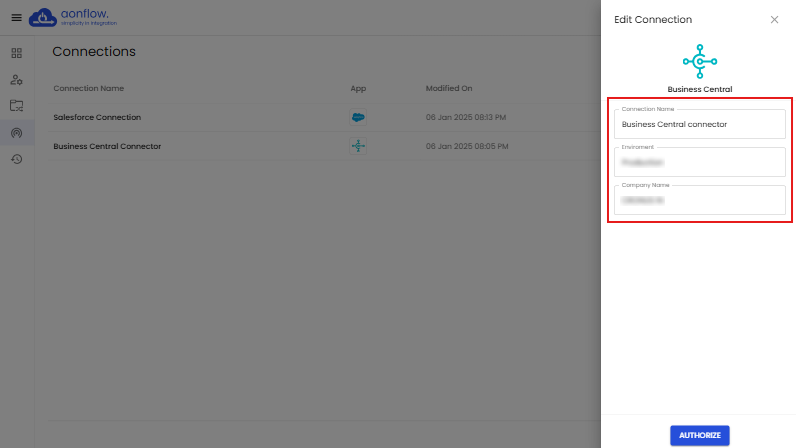
Let’s edit a Business Central connector.
- Edit Connection slider appears.
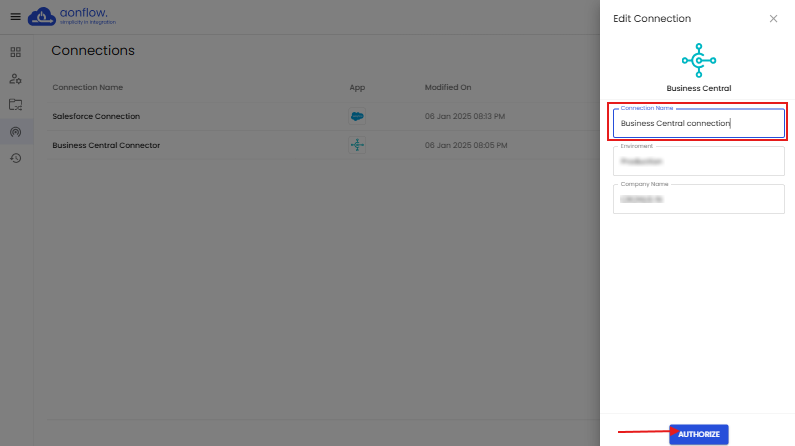
- Edit the credentials.
- Click on the ‘AUTHORIZE’ button.
- You will get redirected to the Business Central login page, enter the login credentials.
- Approve the sign in request through the Microsoft Authenticator app.
- Accept the permissions, by clicking on Accept.
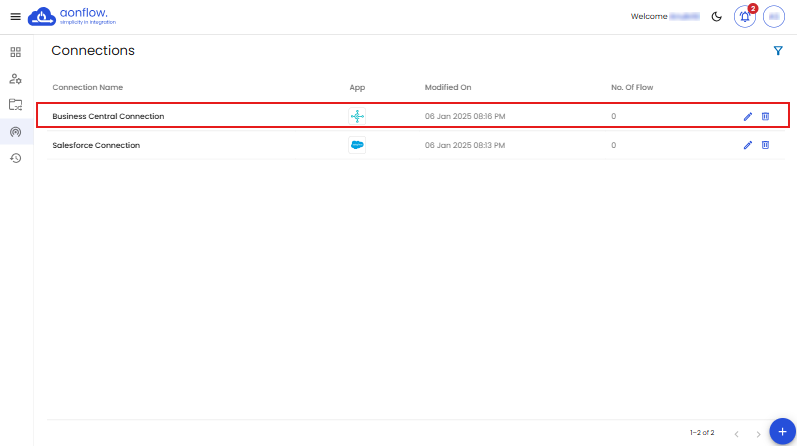
- Once the login is approved, you will be redirected to the Edit Connection slider, and then to the Connections page, where the changes will be reflected.
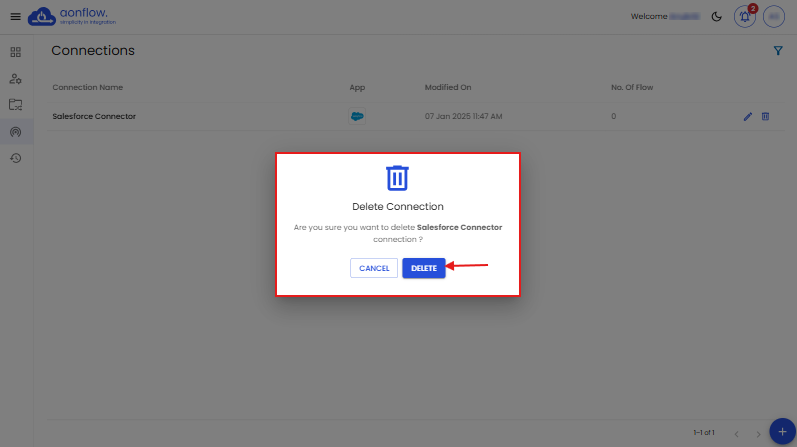
C. You can also delete a connection.
- Click on the option to delete the connection, next to the connection name.
- Delete pop up appears, Click on ‘DELETE’ button.
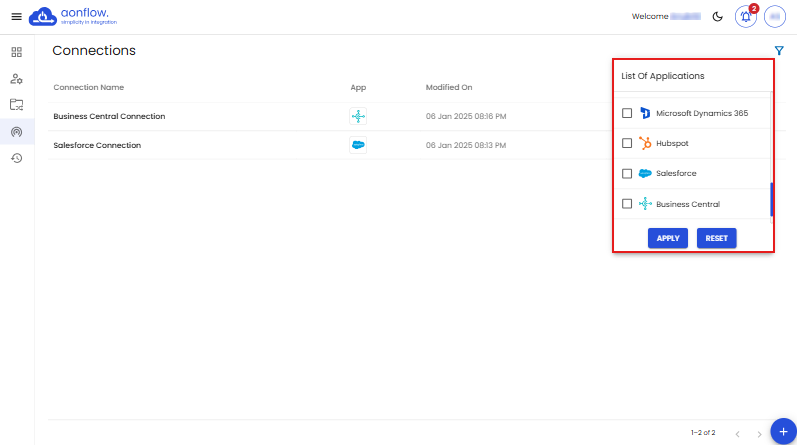
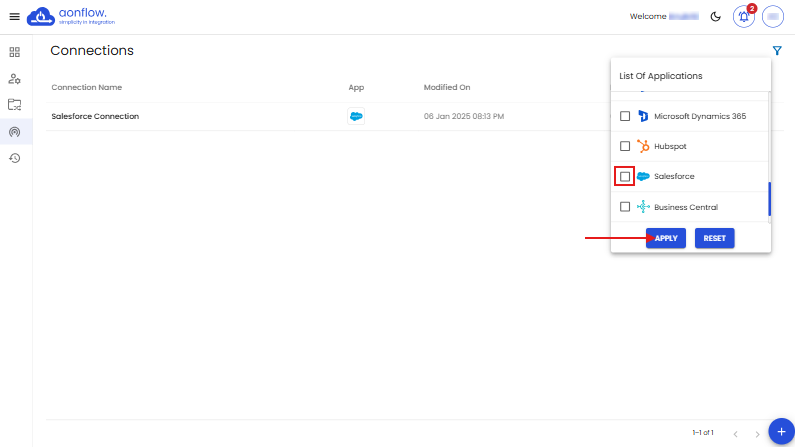
D. You can also filter out the connections created.
- Click on the filter icon on the top right corner.
- List of Applications slider appears.
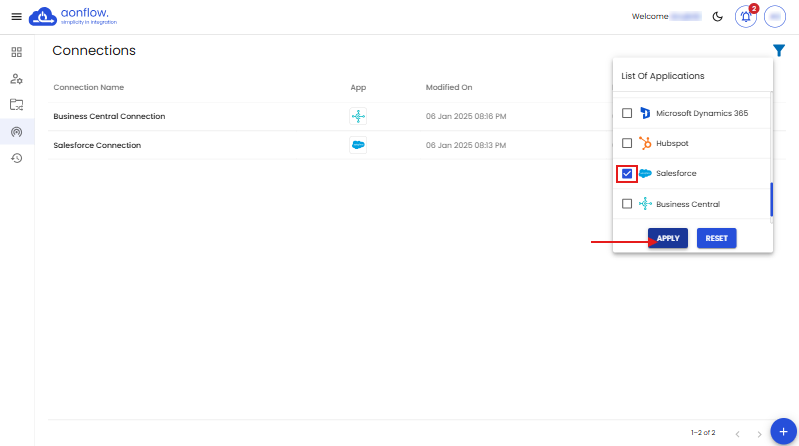
- Select the application you want to filter. Click on the ‘APPLY’ button.
- You can see that only the list of chosen app’s connections are visible.
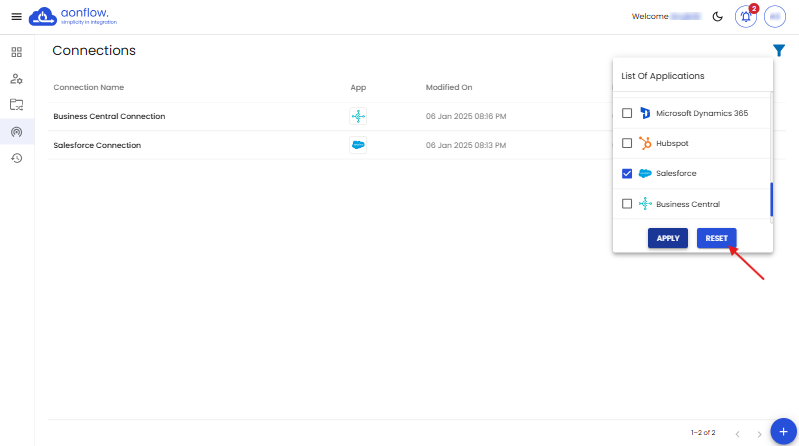
- To reset the applied filter, click on the ‘RESET’ button.
- Click on the ‘APPLY’ button.
- You can see the list of all the connections created in the organization are visible now.

FREE DEMO
Don't miss out! Schedule your free demo today.
Our experts will analyze your iPaaS requirements, not just show you the product.
Book a Demo