- Documentation
- User Management
Documentation Quick Links
User Management
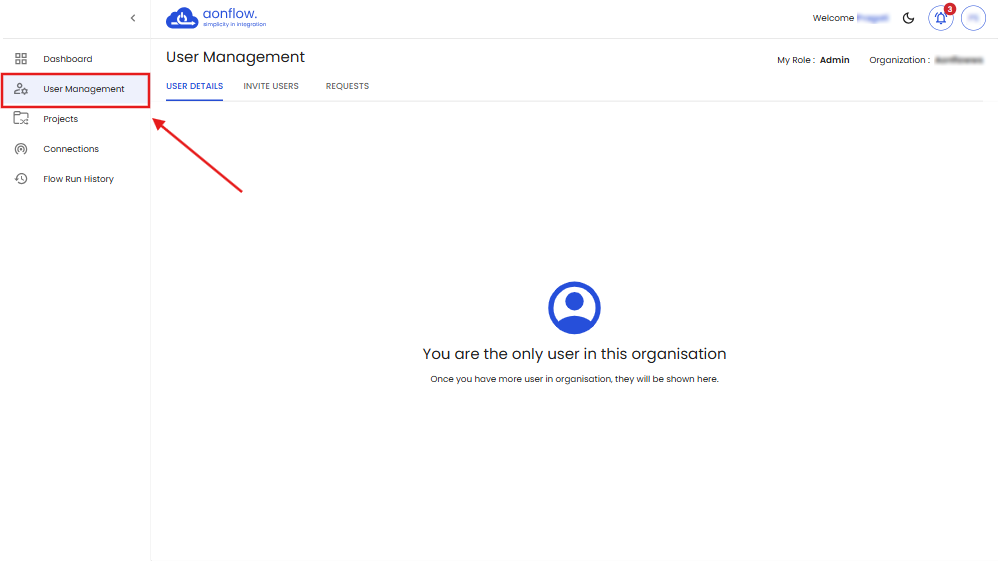
When you click on ‘User Management,’ you will get redirected to the User Management page. Where you will see three tabs - USER DETAILS, INVITE USERS, REQUESTS.
A. USER DETAILS:
This section will display all users' details i.e., Your role in the organization and the organization name on the top right corner. The other user names, email id, role in the organization, the date on which they joined the organization. The options to change the user’s role or delete the user from the organization.
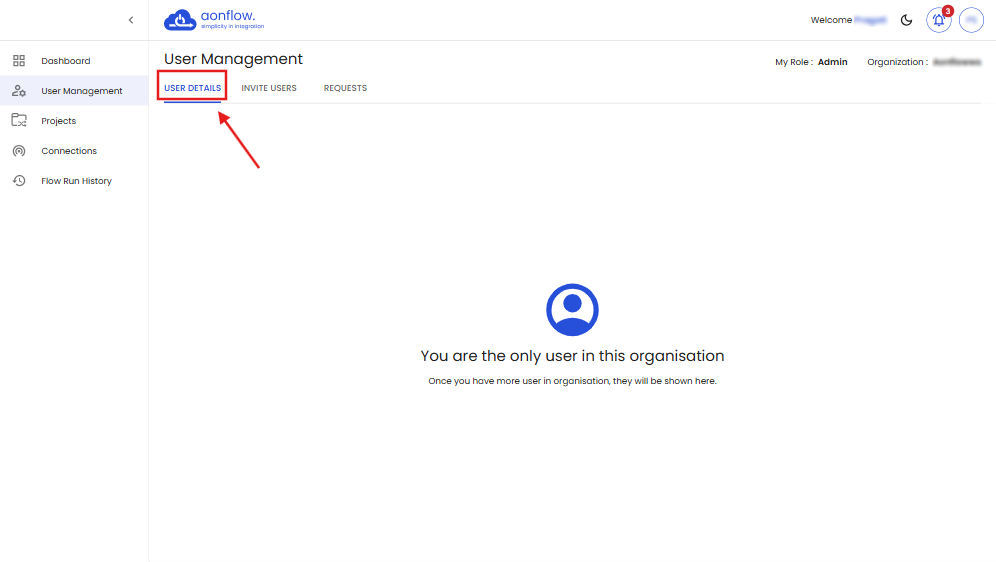
B. INVITE USERS:
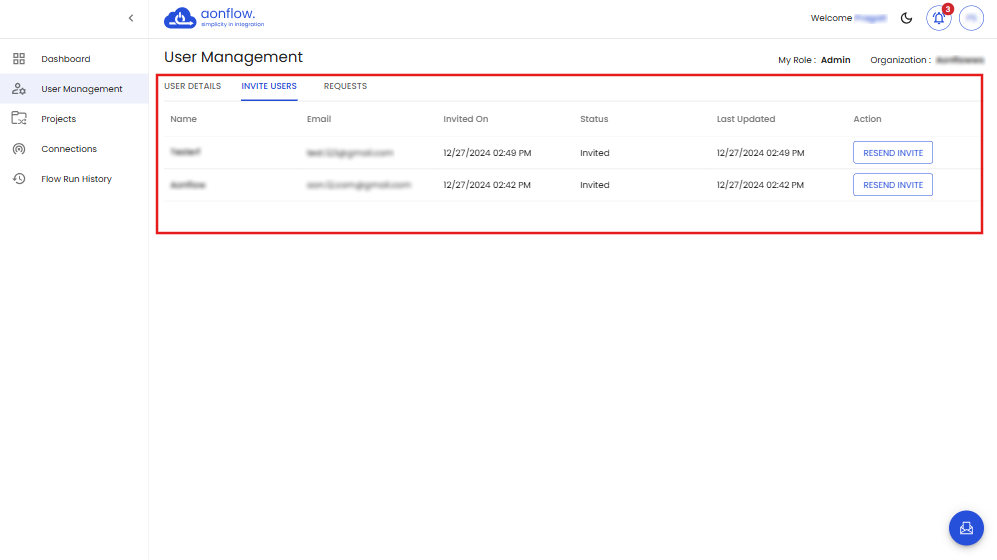
You can view the list of invited users, their name, email id, date of invitation, status of the invitation, the invitation’s last update date and the button to resend the invite. You can also invite new users to the organization from here.
- To invite users, click on the small blue-colored envelope icon on the bottom-right of the page, as seen in the image below.
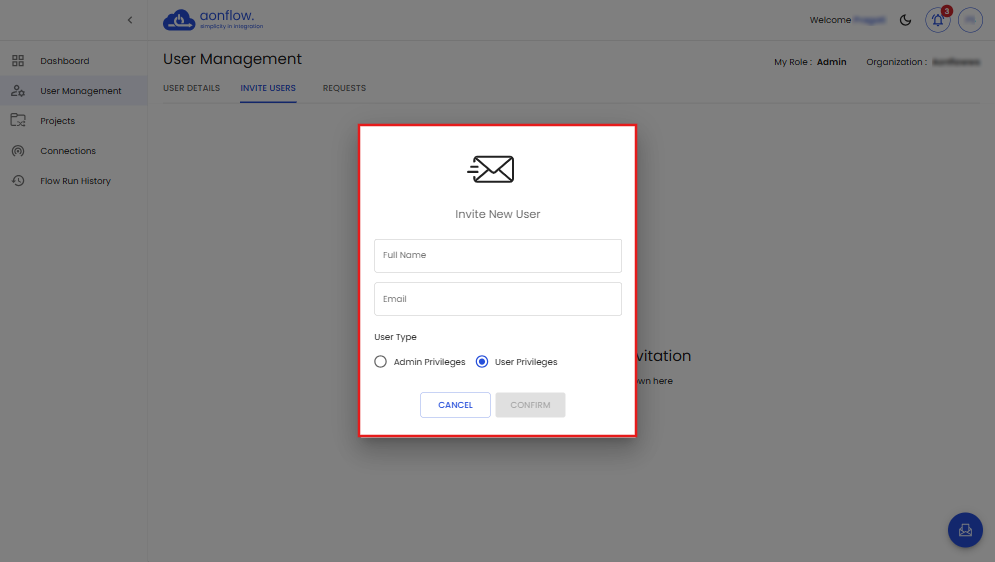
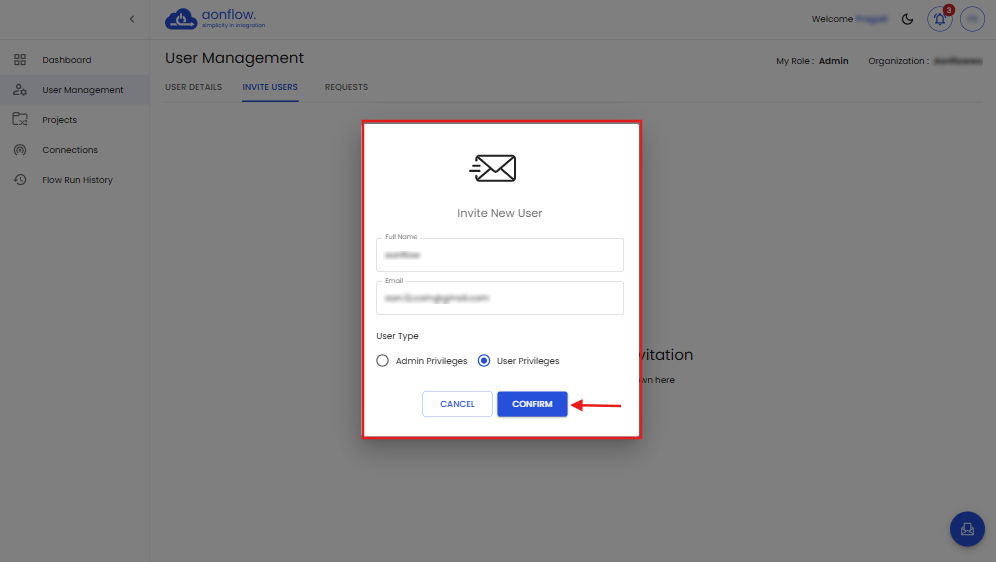
- Once you click on the envelope icon, the invite new user pop-up will appear.
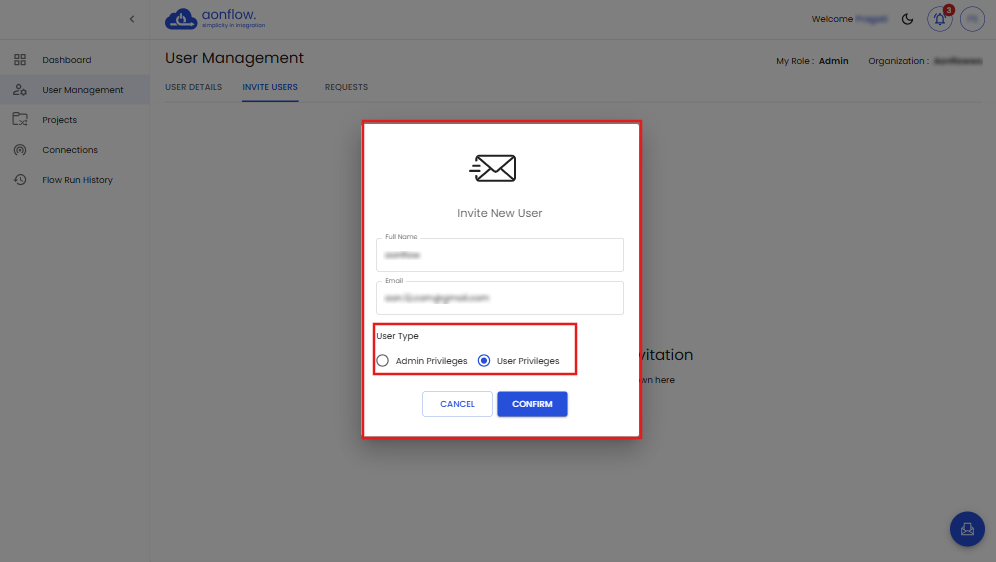
- Enter the full name of the user and the email address of the user you want to invite to this organization.
- Choose the user type: Admin Privilege or User Privilege.
- Once you have chosen the user type, click on the ‘CONFIRM’ button.
- The invitation sent successfully pop-up will appear.
Note: Admin Privilege will gain access to all Admin rights (add new users, edit the organization details, remove a user, take action on the requests received, modify the organization details, and delete the organization) whereas the User Privilege will gain access only to User Rights (can view the organization details, add new users).
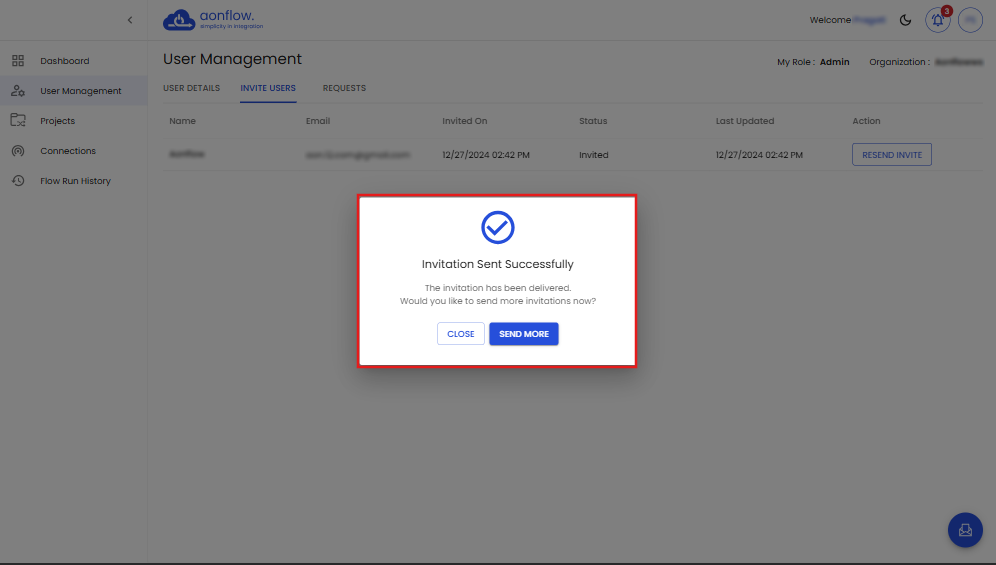
Note: If you want to send more invites click on “SEND MORE” if not then click on “CLOSE”
Once you are done inviting the user, an invitation email will be sent to this user. The user can also view the invitation on the application, by going on invitations tab on organization page.
To accept the invitation through the email -
- The user needs to go to their registered email’s inbox.
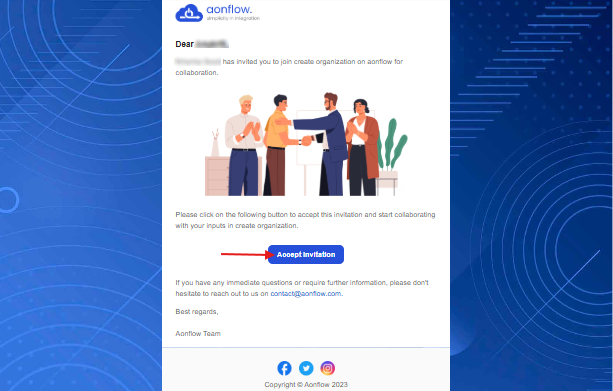
- Open the email send by Aonflow.
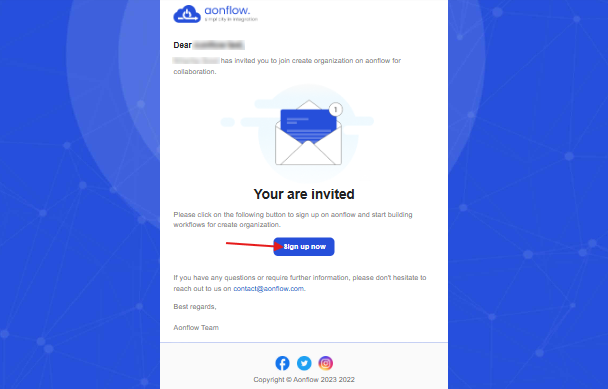
- Click on “Accept Invitation”.
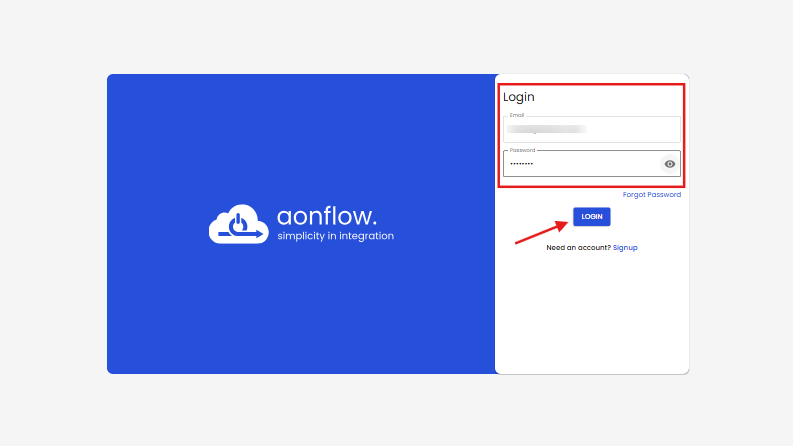
- You will get redirected to the Login page, If you are an existing user of the organization.
- Follow the steps "https://www.aonflow.com/documentation/login"
- If you are a new user, who does not have an existing account in the Aonflow, you will get the below mail.
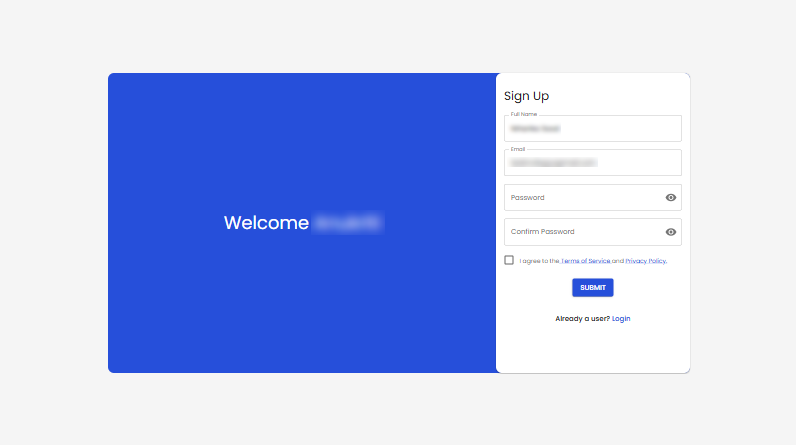
- Click on Sign up.
- The email and username is already visible, enter your preferred password, Click on Signup.
- Follow the steps on - "https://www.aonflow.com/documentation/"
- Login to the Aonflow account.
- Follow the steps on - "https://www.aonflow.com/documentation/login"
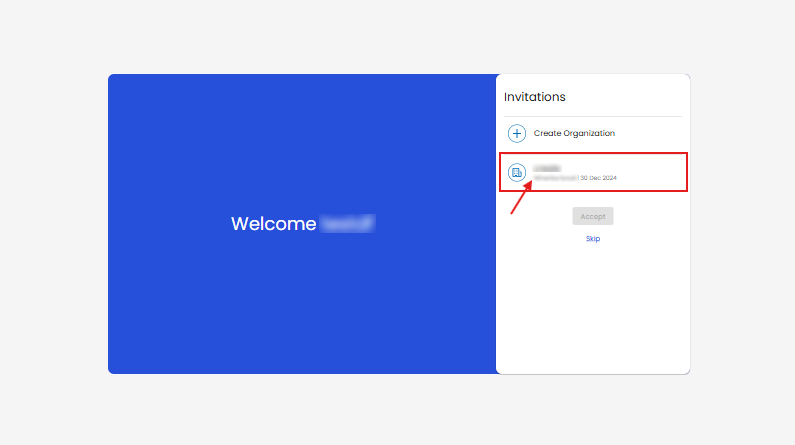
- Click on the organization appearing on the Welcome page.
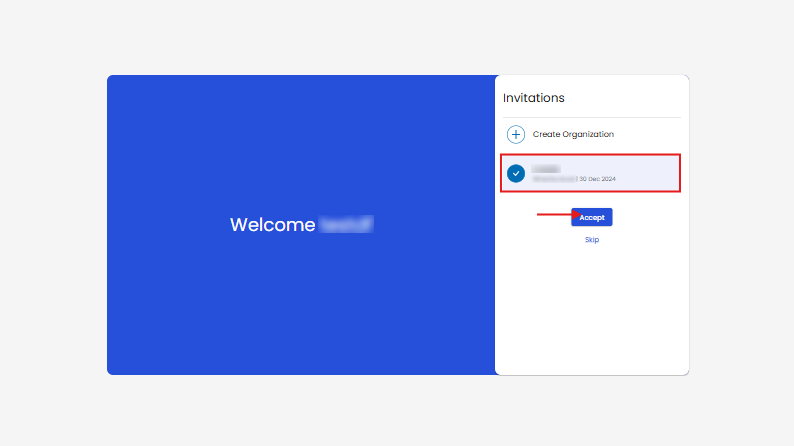
- Click on Accept.
- You will get redirected to the dashboard.
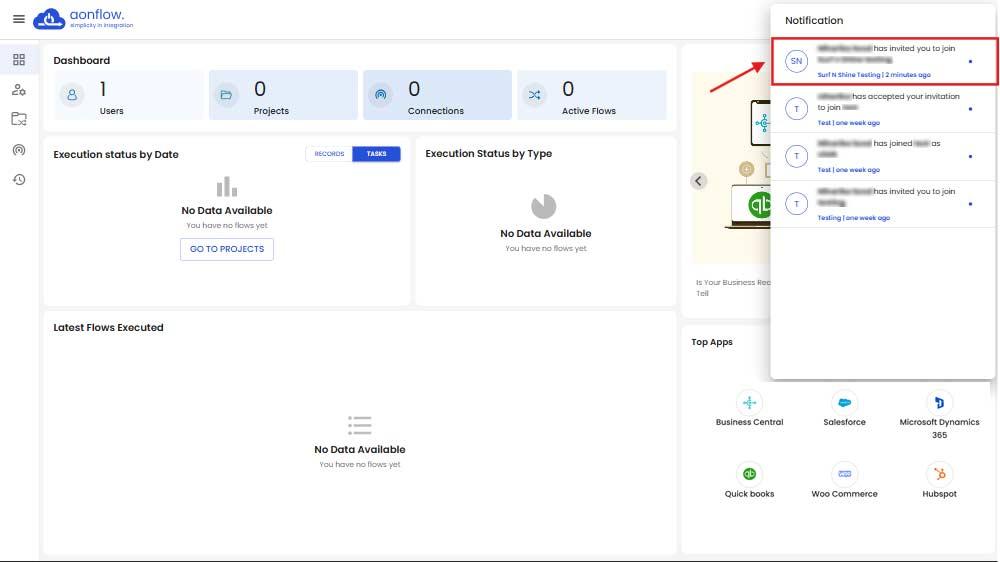
- If you are an existing user, after login click on the bell icon.
- The notification dropdown appears, click on the notification for the organization’s invitation.
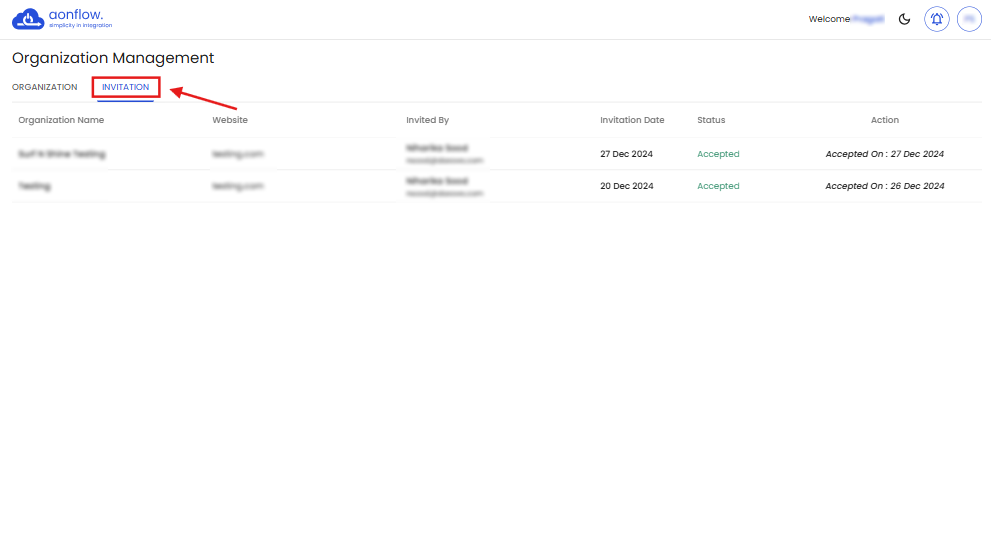
- You will get redirected to the Organization page’s Invitation tab.
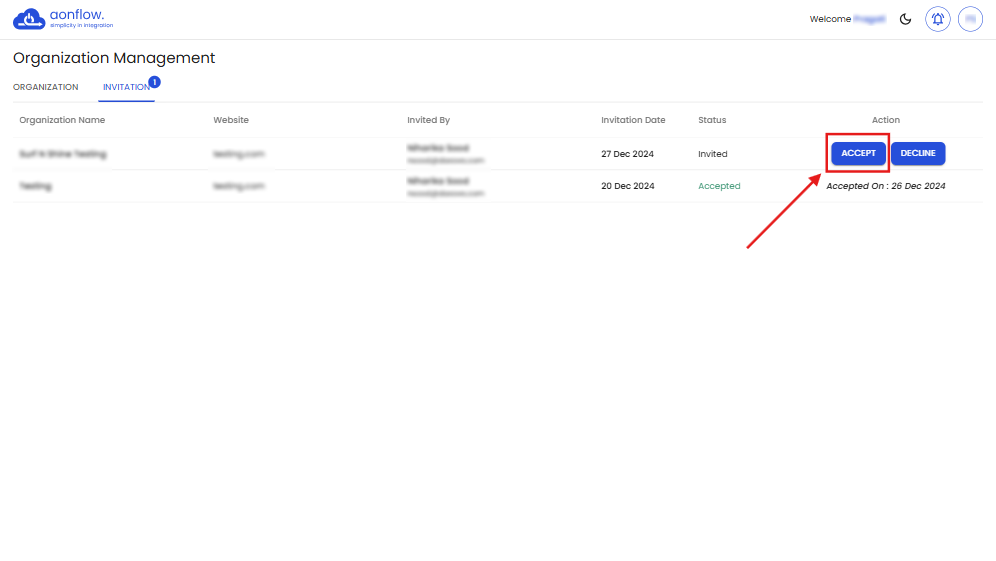
- Click on ACCEPT.

Once the user accepts the invite, it will appear in the list of organizations on the Organizations tab on the page.
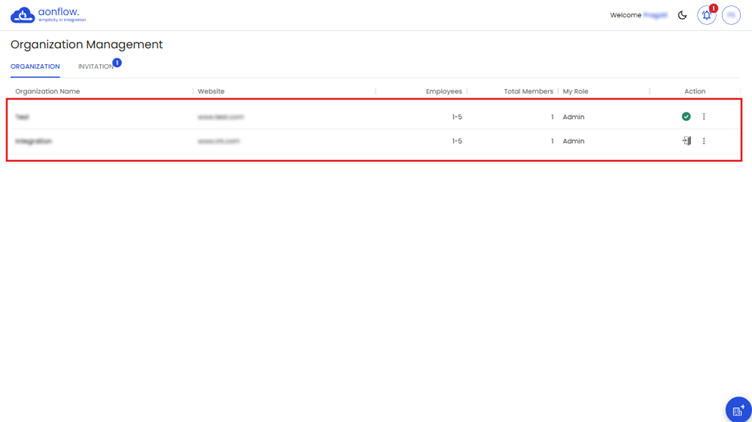
Note: You can also accept the invitation directly from the application by going to the organizations page.
This is what the list of invitees will look like within the ‘INVITE USER’ tab of the User Management page.
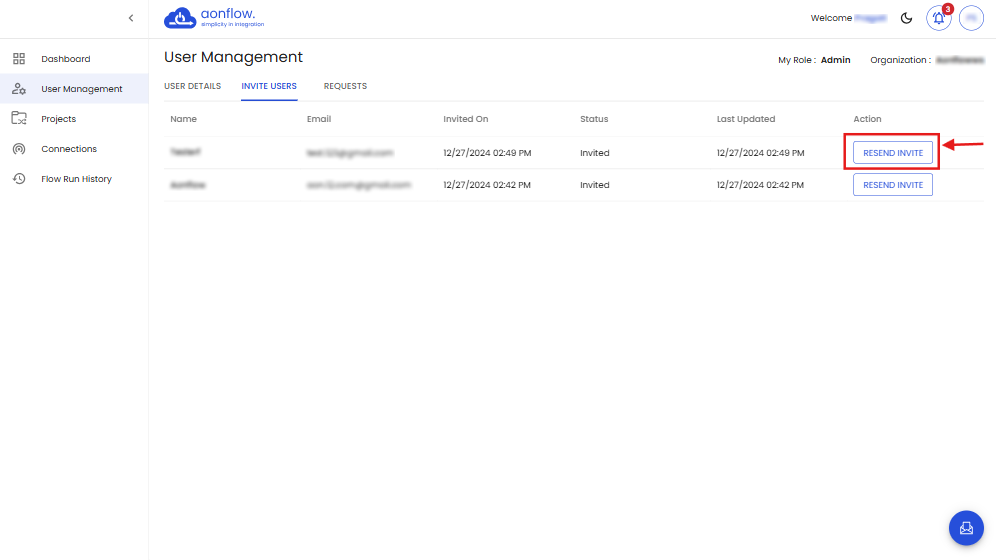
Note: You could also resend the invite if the user did not receive the previous invite, by clicking on Resend button next to the invitation.
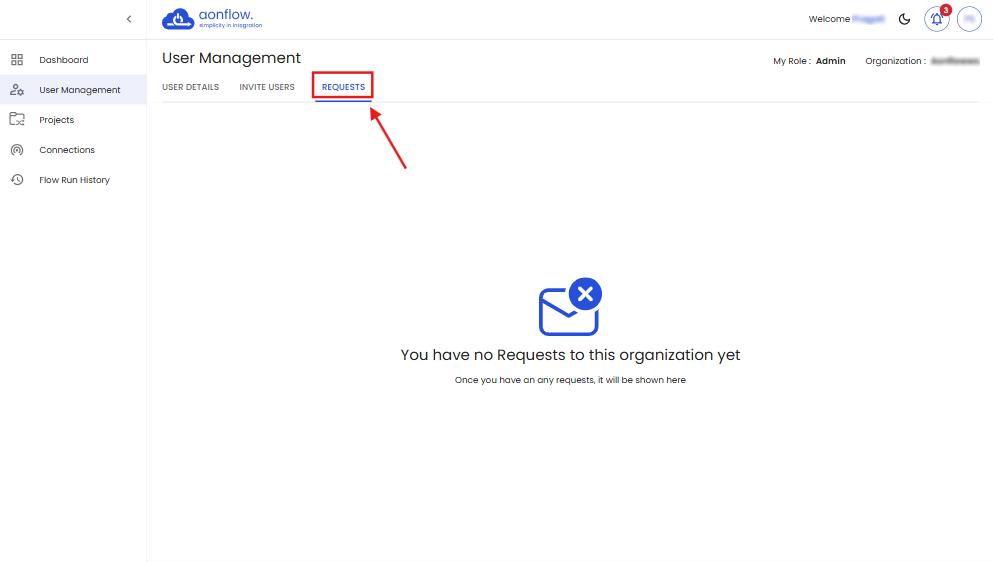
C. The third tab in the ‘User Management’ page is REQUESTS.
This section displays the list of requests received by the admin of the organization from the users who have requested a change in their Privilege i.e, Admin or User.
User Details page
If you click on the username of any of the users added in the organization, the User Details page opens.
Here, you see the user’s details, the list of projects which he is part of, the owner of the project, the user’s privilege, your privilege in the project and an option to join the project.
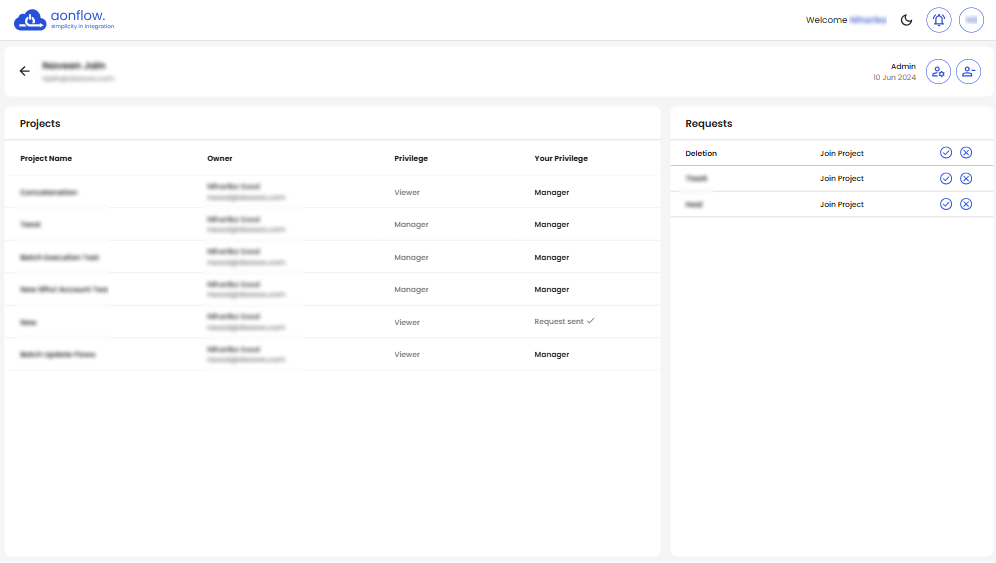
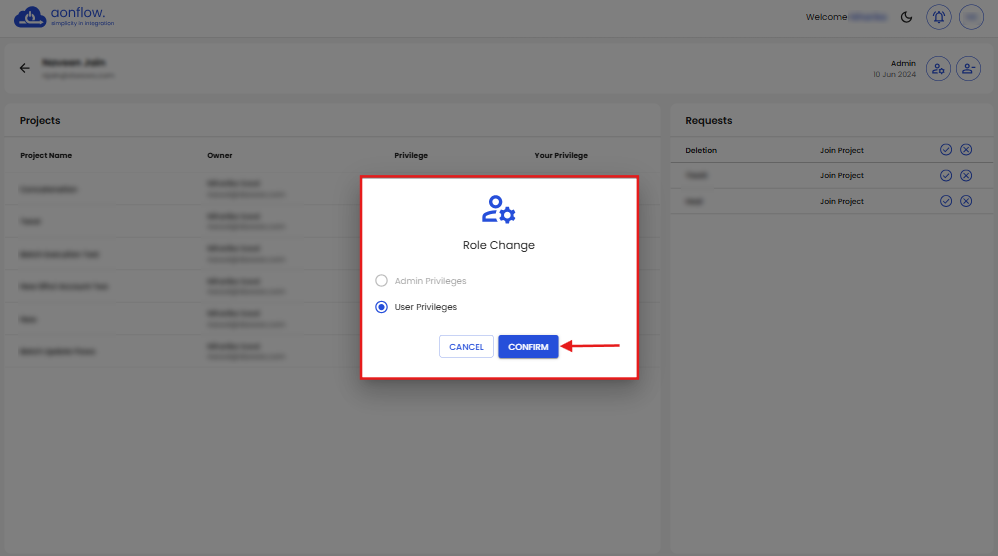
- You can also change the user’s role from the user settings icon located on the top right corner.
- Click on the user settings icon.
- Role change pop up appears, where the role to be changed is already chosen.
- Click on CONFIRM.
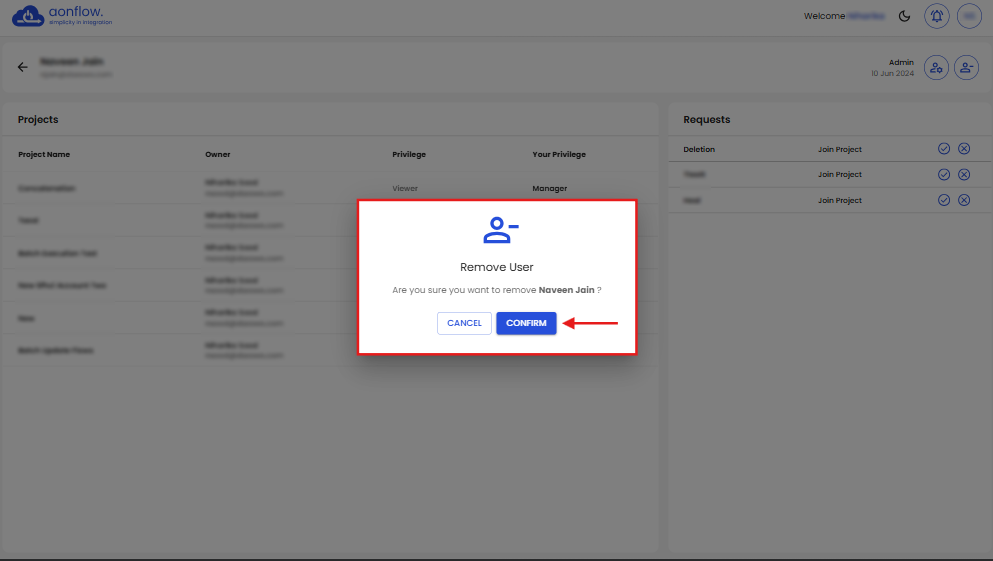
- You can also remove the user from the organization.
- Click on the remove user icon.
- Remove user pop-up appears, click on CONFIRM.
FREE DEMO
Don't miss out! Schedule your free demo today.
Our experts will analyze your iPaaS requirements, not just show you the product.
Book a Demo